WIFI Control Car Arduino Concept | Internet of Things
We built the car employing a variety of transmission methods. But what about a car that can be controlled over WIFI.
Components and supplies
DC Motor, 12 V
Slide Switch
Dual H-Bridge motor drivers L298
thingSoC ESP32 WiFi Module
Jumper wires (generic)
Li-Ion Battery 1000mAh
Arduino UNO
Maker Essentials - Micro-motors & Grippy Wheels
Tools and machines
Hot glue gun (generic)
Project description
Code
Arduino Code
c_cpp
Downloadable files
Connecting Wires to the L298N Motor Driver & ESP 32
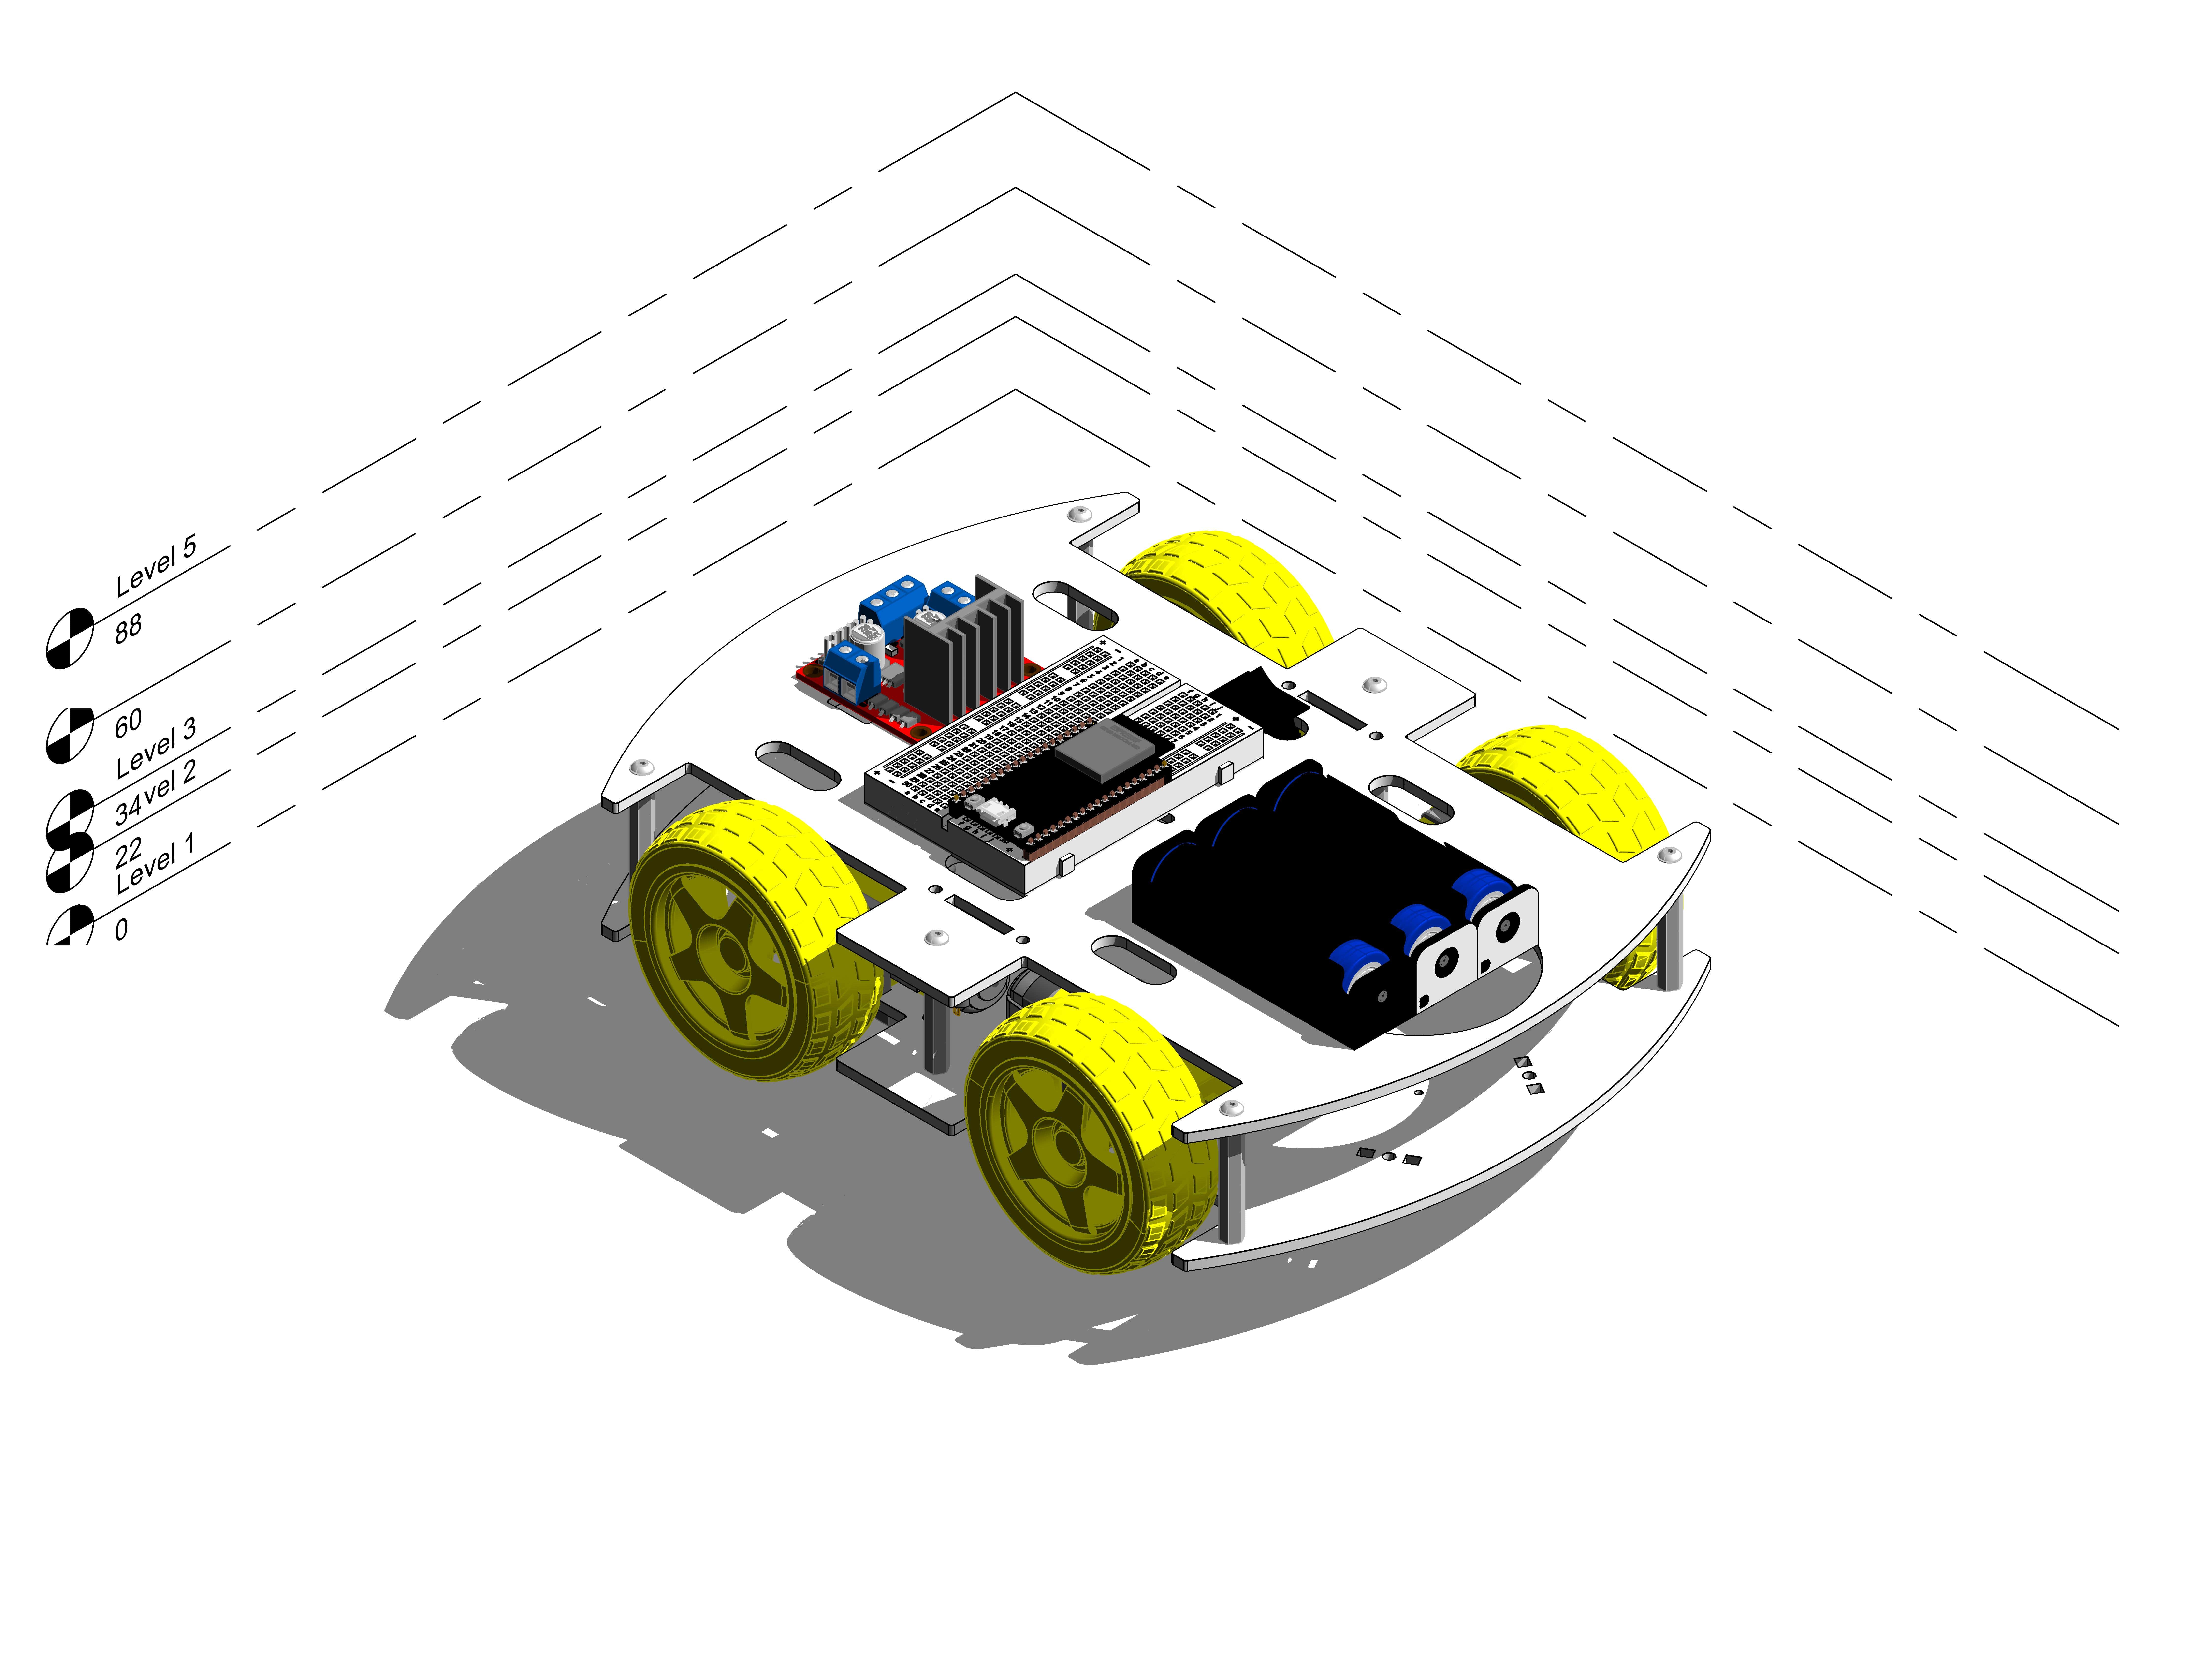
So, let’s make this smart car step by step. The required components are as follows: - Used the necessary items and quantity with the help of the above hardware required table. • Secondly, glue the four gear motors to the car kit board, to do this, use the hot glue gun. • Thirdly, attach the motor driver board to the top of the foam board. Afterward, connect the gear motors to the Motor driver board. For that, use the below circuit diagram. • OK, now glue the breadboard as follows. Then, attach the Node MCU board to the breadboard. Next, connect the motor driver board to the Node MCU board. For that, use the above circuit diagram. • Now, connect the battery holder with the GND and 12v terminals on the motor drive board. After, glue it onto the car kit board. • OK. let’s set up the website. After connecting your device to the WIFI and go to the link in the above “web & app interface made to send commands” page. • Lastly, attach the batteries to the battery holder and turns ON your smart car. Now, go to the site: - http://wificar.c1.biz/ project and control it easily. OK, enjoy this project.
Connecting Wires to the L298N Motor Driver & ESP 32

Documentation
Design Architectural Structure - CAD Plan
Design Architectural Structure - CAD Plan

Comments
Only logged in users can leave comments