Devices & Components
Arduino Nano
Various screw
5V Relay Module
L bracket
Metal washer
Oil primer
Resistor 330 ohm
Character LCD i2c 16x02
Fuses socket
Resistor 10k ohm
60W Bulb
LED (generic)
Glass Body Fuses(250V 0.6~1A)
Inlet Socket(P)
Speaker: 0.25W, 8 ohms
Push Switch
Cover type Toggle Switch
3P Terminal Block
Shrinkable tube
500Ω Adjustable Resistance
Smartphone 5V Charger
UL1007 AWG24
Inlet Socket(N)
Corner bracket
Steel basket
Finish oil
Rocker Switch
60℃ Bimetal Sensor
Thermistor Sensor
Rubber tree (solid wood)
Hardware & Tools
Hand saw
Electric Trimmer
Soldering iron (generic)
Rubber hammer
Hand drill
Digilent Screwdriver
Electric miter saw
Electric saending
Project description
Code
SIMP TEAM's Kotatsu MK1.zip
arduino
Please Download the file and unzip it.
1//https://www.youtube.com/simpteam 2//SIMP TEAM 3 4#include <Wire.h> 5#include <LiquidCrystal_I2C.h> 6#include <sound_effect.h> 7#include <thermistor.h> 8#include <MsTimer2.h> 9 10 11LiquidCrystal_I2C lcd(0x27,16,2); 12 13int PotenTiometer = A0; 14int Thermistor = A1; 15int PotenTiometer_val; 16int Relay_Heating = 6; 17int Heating_LED = 2; 18int System_Switch = 4; 19float Temp; 20 21uint8_t clock[8] = {0x0, 0xe, 0x15, 0x17, 0x11, 0xe, 0x0}; 22uint8_t heart[8] = {0x0, 0xa, 0x1f, 0x1f, 0xe, 0x4, 0x0}; 23 24unsigned long this_time = millis(); 25int this_state = 0; 26 27 28void setup() { 29 pinMode(Heating_LED, OUTPUT); 30 pinMode(System_Switch, INPUT_PULLUP); ) 31 pinMode(Relay_Heating , OUTPUT); 32 33 digitalWrite(Relay_Heating, HIGH); 34 lcd.begin(); 35 lcd.backlight(); 36 lcd.clear(); 37 delay(1000); 38 39 lcd.print("Hello, SIMP! ^0^"); 40 delay(500); 41 lcd.setCursor(0, 1); 42 lcd.print("KOTATSU MK1-2017"); 43 seSqueak(13); 44 45 lcd.createChar(2, clock); 46 lcd.createChar(3, heart); 47 48 MsTimer2::set(14400000,timeout); 49 MsTimer2::start(); 50} 51 52 53void loop() { 54 55 56 if(digitalRead(System_Switch) == LOW) { 57 PotenTiometer_val = analogRead(PotenTiometer); 58 PotenTiometer_val = map(PotenTiometer_val, 0, 1023, 30, 40); 59 Temp = analogRead(Thermistor); 60 61 lcd.clear(); 62 lcd.print("Temp : "); 63 lcd.print(ThermistorToC(Temp)); 64 lcd.print("("); 65 lcd.print(PotenTiometer_val); 66 lcd.print(")"); 67 lcd.setCursor(0, 1); 68 69 70 if(ThermistorToC(Temp)<PotenTiometer_val && this_state==0) { 71 digitalWrite(Relay_Heating, LOW); 72 digitalWrite(Heating_LED, HIGH); 73 lcd.print("Heating ON "); 74 lcd.write(3); 75 } 76 77 78 else{ 79 digitalWrite(Relay_Heating, HIGH); 80 digitalWrite(Heating_LED, LOW); 81 lcd.print("Heating OFF "); 82 lcd.write(2); 83 this_state =1; 84 } 85 delay(1000); 86 } 87 88 89 if(ThermistorToC(Temp)>PotenTiometer_val || ThermistorToC(Temp)<PotenTiometer_val && this_state==1) { 90 if(this_time + 60000 < millis() ) { 91 this_time=millis(); 92 this_state = 0; 93 } 94 delay(1000); 95 } 96 97 98 if(ThermistorToC(Temp)>50) { 99 lcd.clear(); 100 lcd.print("Warning"); 101 delay(1000); 102 lcd.setCursor(0, 1); 103 lcd.print("High Temperature"); 104 seAlarm(13); 105 digitalWrite(Relay_Heating, HIGH); 106 } 107 108 109 if(digitalRead(System_Switch) == HIGH) { 110 lcd.clear(); 111 digitalWrite(Heating_LED, LOW); 112 digitalWrite(Relay_Heating, HIGH); 113 lcd.print("bye, SIMP! ^0^"); 114 delay(1000); 115 lcd.setCursor(0, 1); 116 lcd.print("Sleep Mode"); 117 delay(1000); 118 } 119} 120 121void timeout() { 122 digitalWrite(Relay_Heating, HIGH); 123 digitalWrite(Heating_LED, LOW); 124 lcd.clear(); 125}
SIMP TEAM's Kotatsu MK1.zip
arduino
Please Download the file and unzip it.
1//https://www.youtube.com/simpteam 2//SIMP TEAM 3 4#include <Wire.h> 5#include <LiquidCrystal_I2C.h> 6#include <sound_effect.h> 7#include <thermistor.h> 8#include <MsTimer2.h> 9 10 11LiquidCrystal_I2C lcd(0x27,16,2); 12 13int PotenTiometer = A0; 14int Thermistor = A1; 15int PotenTiometer_val; 16int Relay_Heating = 6; 17int Heating_LED = 2; 18int System_Switch = 4; 19float Temp; 20 21uint8_t clock[8] = {0x0, 0xe, 0x15, 0x17, 0x11, 0xe, 0x0}; 22uint8_t heart[8] = {0x0, 0xa, 0x1f, 0x1f, 0xe, 0x4, 0x0}; 23 24unsigned long this_time = millis(); 25int this_state = 0; 26 27 28void setup() { 29 pinMode(Heating_LED, OUTPUT); 30 pinMode(System_Switch, INPUT_PULLUP); ) 31 pinMode(Relay_Heating , OUTPUT); 32 33 digitalWrite(Relay_Heating, HIGH); 34 lcd.begin(); 35 lcd.backlight(); 36 lcd.clear(); 37 delay(1000); 38 39 lcd.print("Hello, SIMP! ^0^"); 40 delay(500); 41 lcd.setCursor(0, 1); 42 lcd.print("KOTATSU MK1-2017"); 43 seSqueak(13); 44 45 lcd.createChar(2, clock); 46 lcd.createChar(3, heart); 47 48 MsTimer2::set(14400000,timeout); 49 MsTimer2::start(); 50} 51 52 53void loop() { 54 55 56 if(digitalRead(System_Switch) == LOW) { 57 PotenTiometer_val = analogRead(PotenTiometer); 58 PotenTiometer_val = map(PotenTiometer_val, 0, 1023, 30, 40); 59 Temp = analogRead(Thermistor); 60 61 lcd.clear(); 62 lcd.print("Temp : "); 63 lcd.print(ThermistorToC(Temp)); 64 lcd.print("("); 65 lcd.print(PotenTiometer_val); 66 lcd.print(")"); 67 lcd.setCursor(0, 1); 68 69 70 if(ThermistorToC(Temp)<PotenTiometer_val && this_state==0) { 71 digitalWrite(Relay_Heating, LOW); 72 digitalWrite(Heating_LED, HIGH); 73 lcd.print("Heating ON "); 74 lcd.write(3); 75 } 76 77 78 else{ 79 digitalWrite(Relay_Heating, HIGH); 80 digitalWrite(Heating_LED, LOW); 81 lcd.print("Heating OFF "); 82 lcd.write(2); 83 this_state =1; 84 } 85 delay(1000); 86 } 87 88 89 if(ThermistorToC(Temp)>PotenTiometer_val || ThermistorToC(Temp)<PotenTiometer_val && this_state==1) { 90 if(this_time + 60000 < millis() ) { 91 this_time=millis(); 92 this_state = 0; 93 } 94 delay(1000); 95 } 96 97 98 if(ThermistorToC(Temp)>50) { 99 lcd.clear(); 100 lcd.print("Warning"); 101 delay(1000); 102 lcd.setCursor(0, 1); 103 lcd.print("High Temperature"); 104 seAlarm(13); 105 digitalWrite(Relay_Heating, HIGH); 106 } 107 108 109 if(digitalRead(System_Switch) == HIGH) { 110 lcd.clear(); 111 digitalWrite(Heating_LED, LOW); 112 digitalWrite(Relay_Heating, HIGH); 113 lcd.print("bye, SIMP! ^0^"); 114 delay(1000); 115 lcd.setCursor(0, 1); 116 lcd.print("Sleep Mode"); 117 delay(1000); 118 } 119} 120 121void timeout() { 122 digitalWrite(Relay_Heating, HIGH); 123 digitalWrite(Heating_LED, LOW); 124 lcd.clear(); 125}
Downloadable files
Kotatsu Mainbox
It is the main board and controls all of it.
Kotatsu Mainbox

Remote Control Box
This is the remote control needed to activate the Kotatsu.
Remote Control Box

Remote Control Box
This is the remote control needed to activate the Kotatsu.
Remote Control Box

Full circuit
This is Kotatsu's Circuit Diagram.
Full circuit

Kotatsu Mainbox
It is the main board and controls all of it.
Kotatsu Mainbox

Full circuit
This is Kotatsu's Circuit Diagram.
Full circuit

Documentation
Kotatsu Frame 1
Kotatsu Frame
Kotatsu Frame 1

Kotatsu Frame 3
Kotatsu Frame
Kotatsu Frame 3

Remote Control Box Frame 5
Remote Control Box Frame
Remote Control Box Frame 5

Principle of Kotatsu

Kotatsu Frame 8
Kotatsu Frame
Kotatsu Frame 8

Remote Control Box Frame 1
Remote Control Box Frame
Remote Control Box Frame 1

MainBox Frame 3
MainBox Freame
MainBox Frame 3

Remote Control Box Frame 4
Remote Control Box Frame
Remote Control Box Frame 4

MainBox Frame 1
MainBox Freame
MainBox Frame 1

Kotatsu inner Device

Kotatsu Frame 5
Kotatsu Frame
Kotatsu Frame 5

Kotatsu Frame 3
Kotatsu Frame
Kotatsu Frame 3

MainBox Frame 2
MainBox Freame
MainBox Frame 2

MainBox Frame 1
MainBox Freame
MainBox Frame 1

Kotatsu Frame 8
Kotatsu Frame
Kotatsu Frame 8

Kotatsu Frame 7
Kotatsu Frame 7
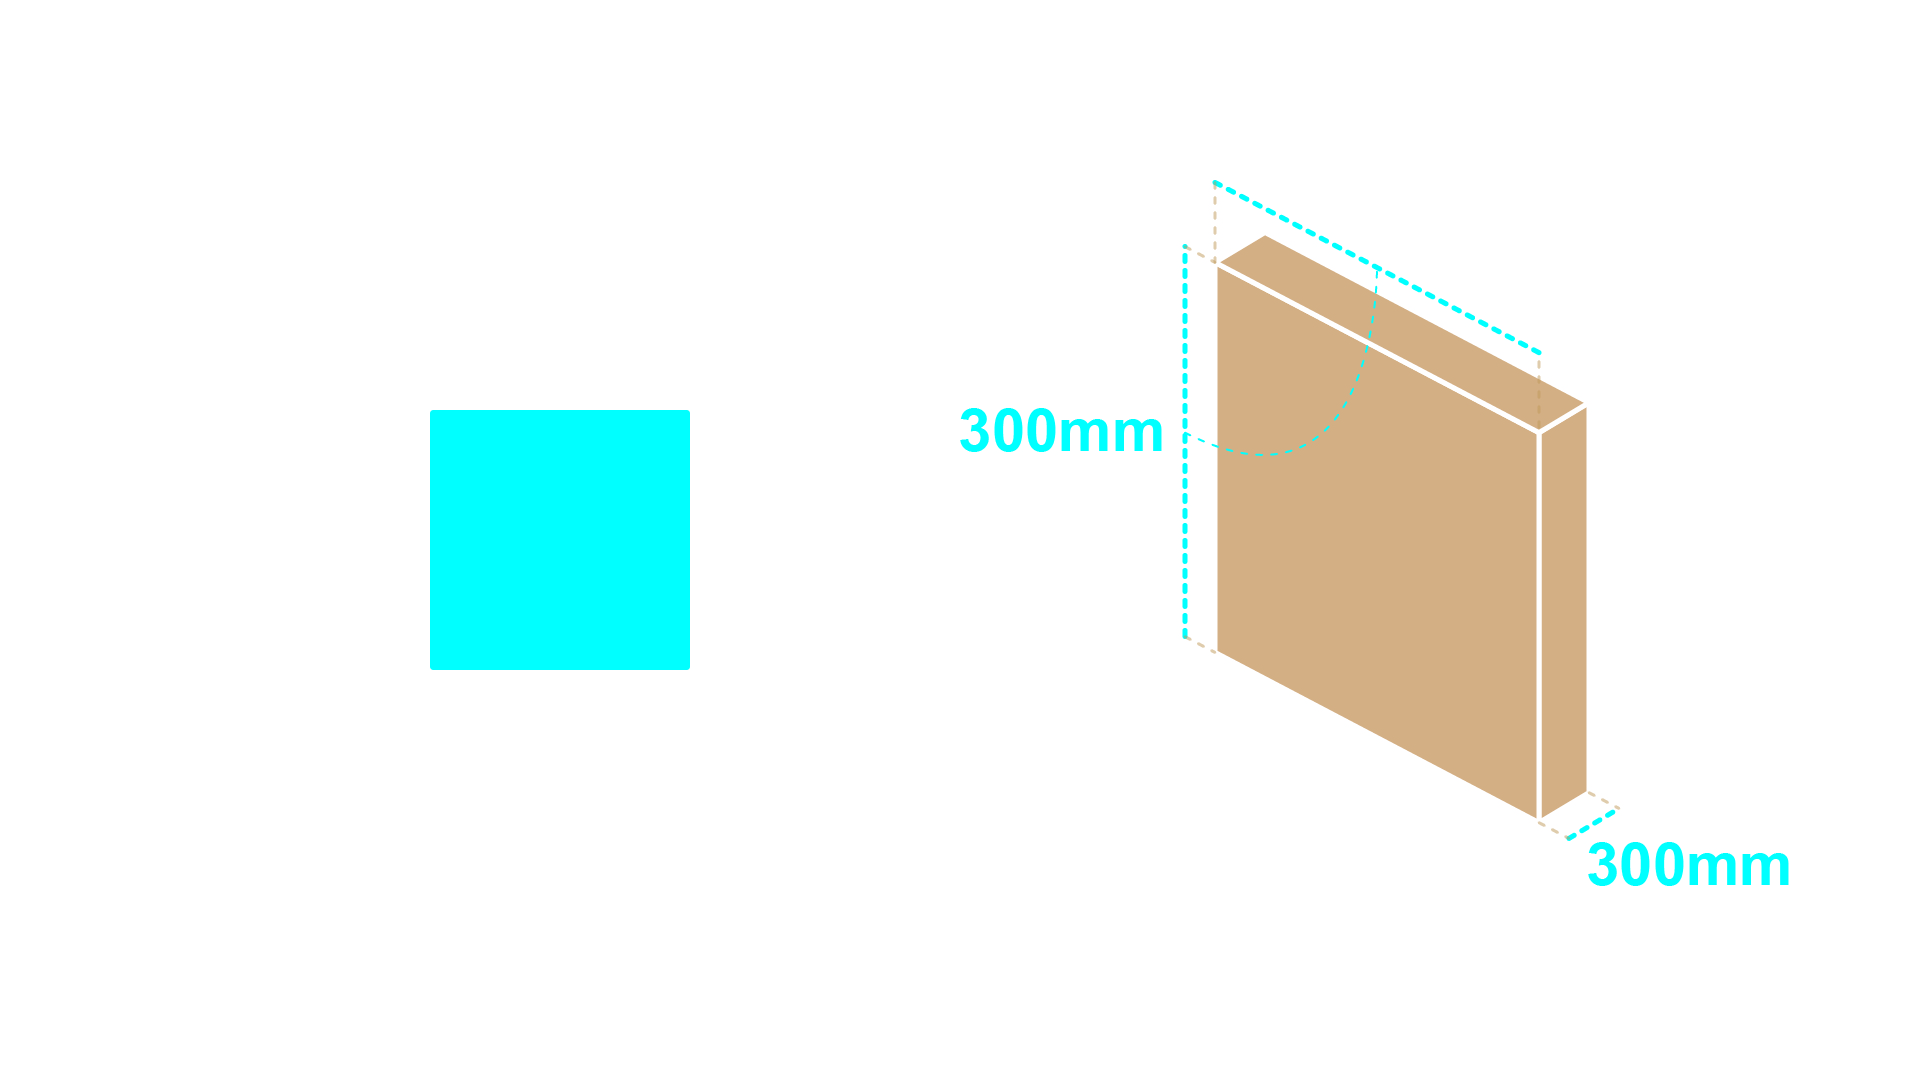
Kotatsu Frame 2
Kotatsu Frame
Kotatsu Frame 2

Incandescent Lamp(bulb)

Remote Control Box Frame 3
Remote Control Box Frame
Remote Control Box Frame 3

MainBox Frame 4
MainBox Freame
MainBox Frame 4

Kotatsu Frame 6
Kotatsu Frame
Kotatsu Frame 6

MainBox Frame 3
MainBox Freame
MainBox Frame 3

Remote Control Box Frame 4
Remote Control Box Frame
Remote Control Box Frame 4

Kotatsu Frame 5
Kotatsu Frame
Kotatsu Frame 5

Kotatsu Frame 4
Kotatsu Frame
Kotatsu Frame 4

Remote Control Box Frame 1
Remote Control Box Frame
Remote Control Box Frame 1

Remote Control Box Frame 5
Remote Control Box Frame
Remote Control Box Frame 5

Kotatsu Frame 1
Kotatsu Frame
Kotatsu Frame 1

Remote Control Box Frame 2
Remote Control Box Frame
Remote Control Box Frame 2

Kotatsu inner Device

MainBox Frame 2
MainBox Freame
MainBox Frame 2

Kotatsu Frame 2
Kotatsu Frame
Kotatsu Frame 2

Incandescent Lamp(bulb)

Remote Control Box Frame 2
Remote Control Box Frame
Remote Control Box Frame 2

Remote Control Box Frame 3
Remote Control Box Frame
Remote Control Box Frame 3

MainBox Frame 4
MainBox Freame
MainBox Frame 4

Kotatsu Frame 6
Kotatsu Frame
Kotatsu Frame 6

Kotatsu Frame 4
Kotatsu Frame
Kotatsu Frame 4

Principle of Kotatsu

Comments
Only logged in users can leave comments