Myoelectric sensor-controlled hand prosthesis
Print a prosthesis on your 3D printer and use a myoelectric sensor to control it.
Devices & Components
Grove Shield for Arduino Nano
Arduino Nano
9V battery (generic)
Jumper wires (generic)
9V Battery Clip
MyoWare Muscle Sensor Development Kit
SG90 Micro-servo motor
Hardware & Tools
nylon thread roll
Hot glue gun (generic)
Solder Wire, Lead Free
Soldering iron (generic)
3D Printer (generic)
Project description
Code
Control the protestic hand with myoelectric sensor.
c_cpp
Control the protestic hand with myoelectric sensor.
c_cpp
Downloadable files
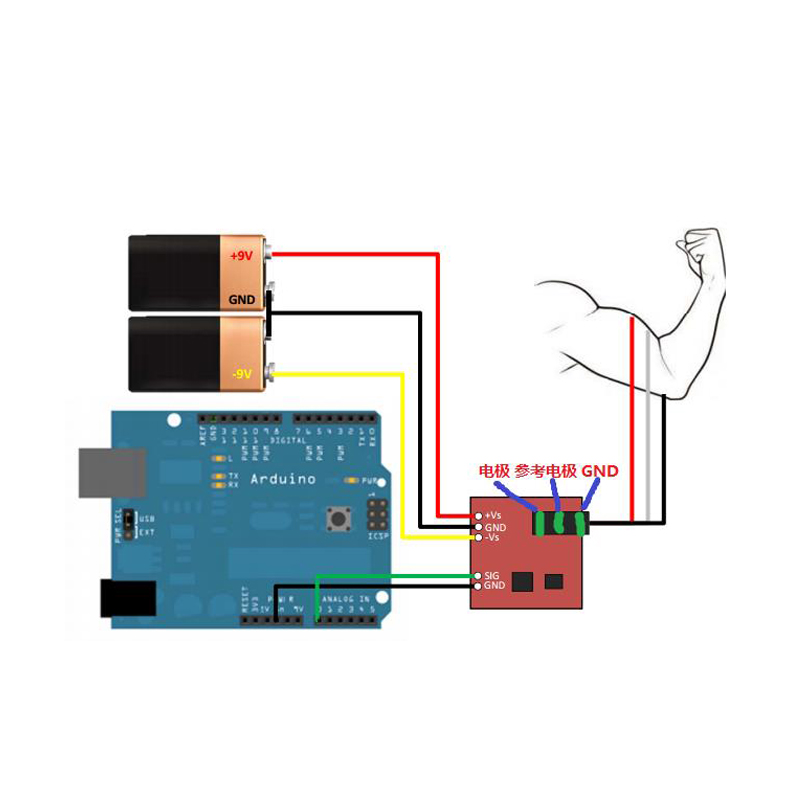
Myoeletric sensor schema.
Myoeletric sensor schema.
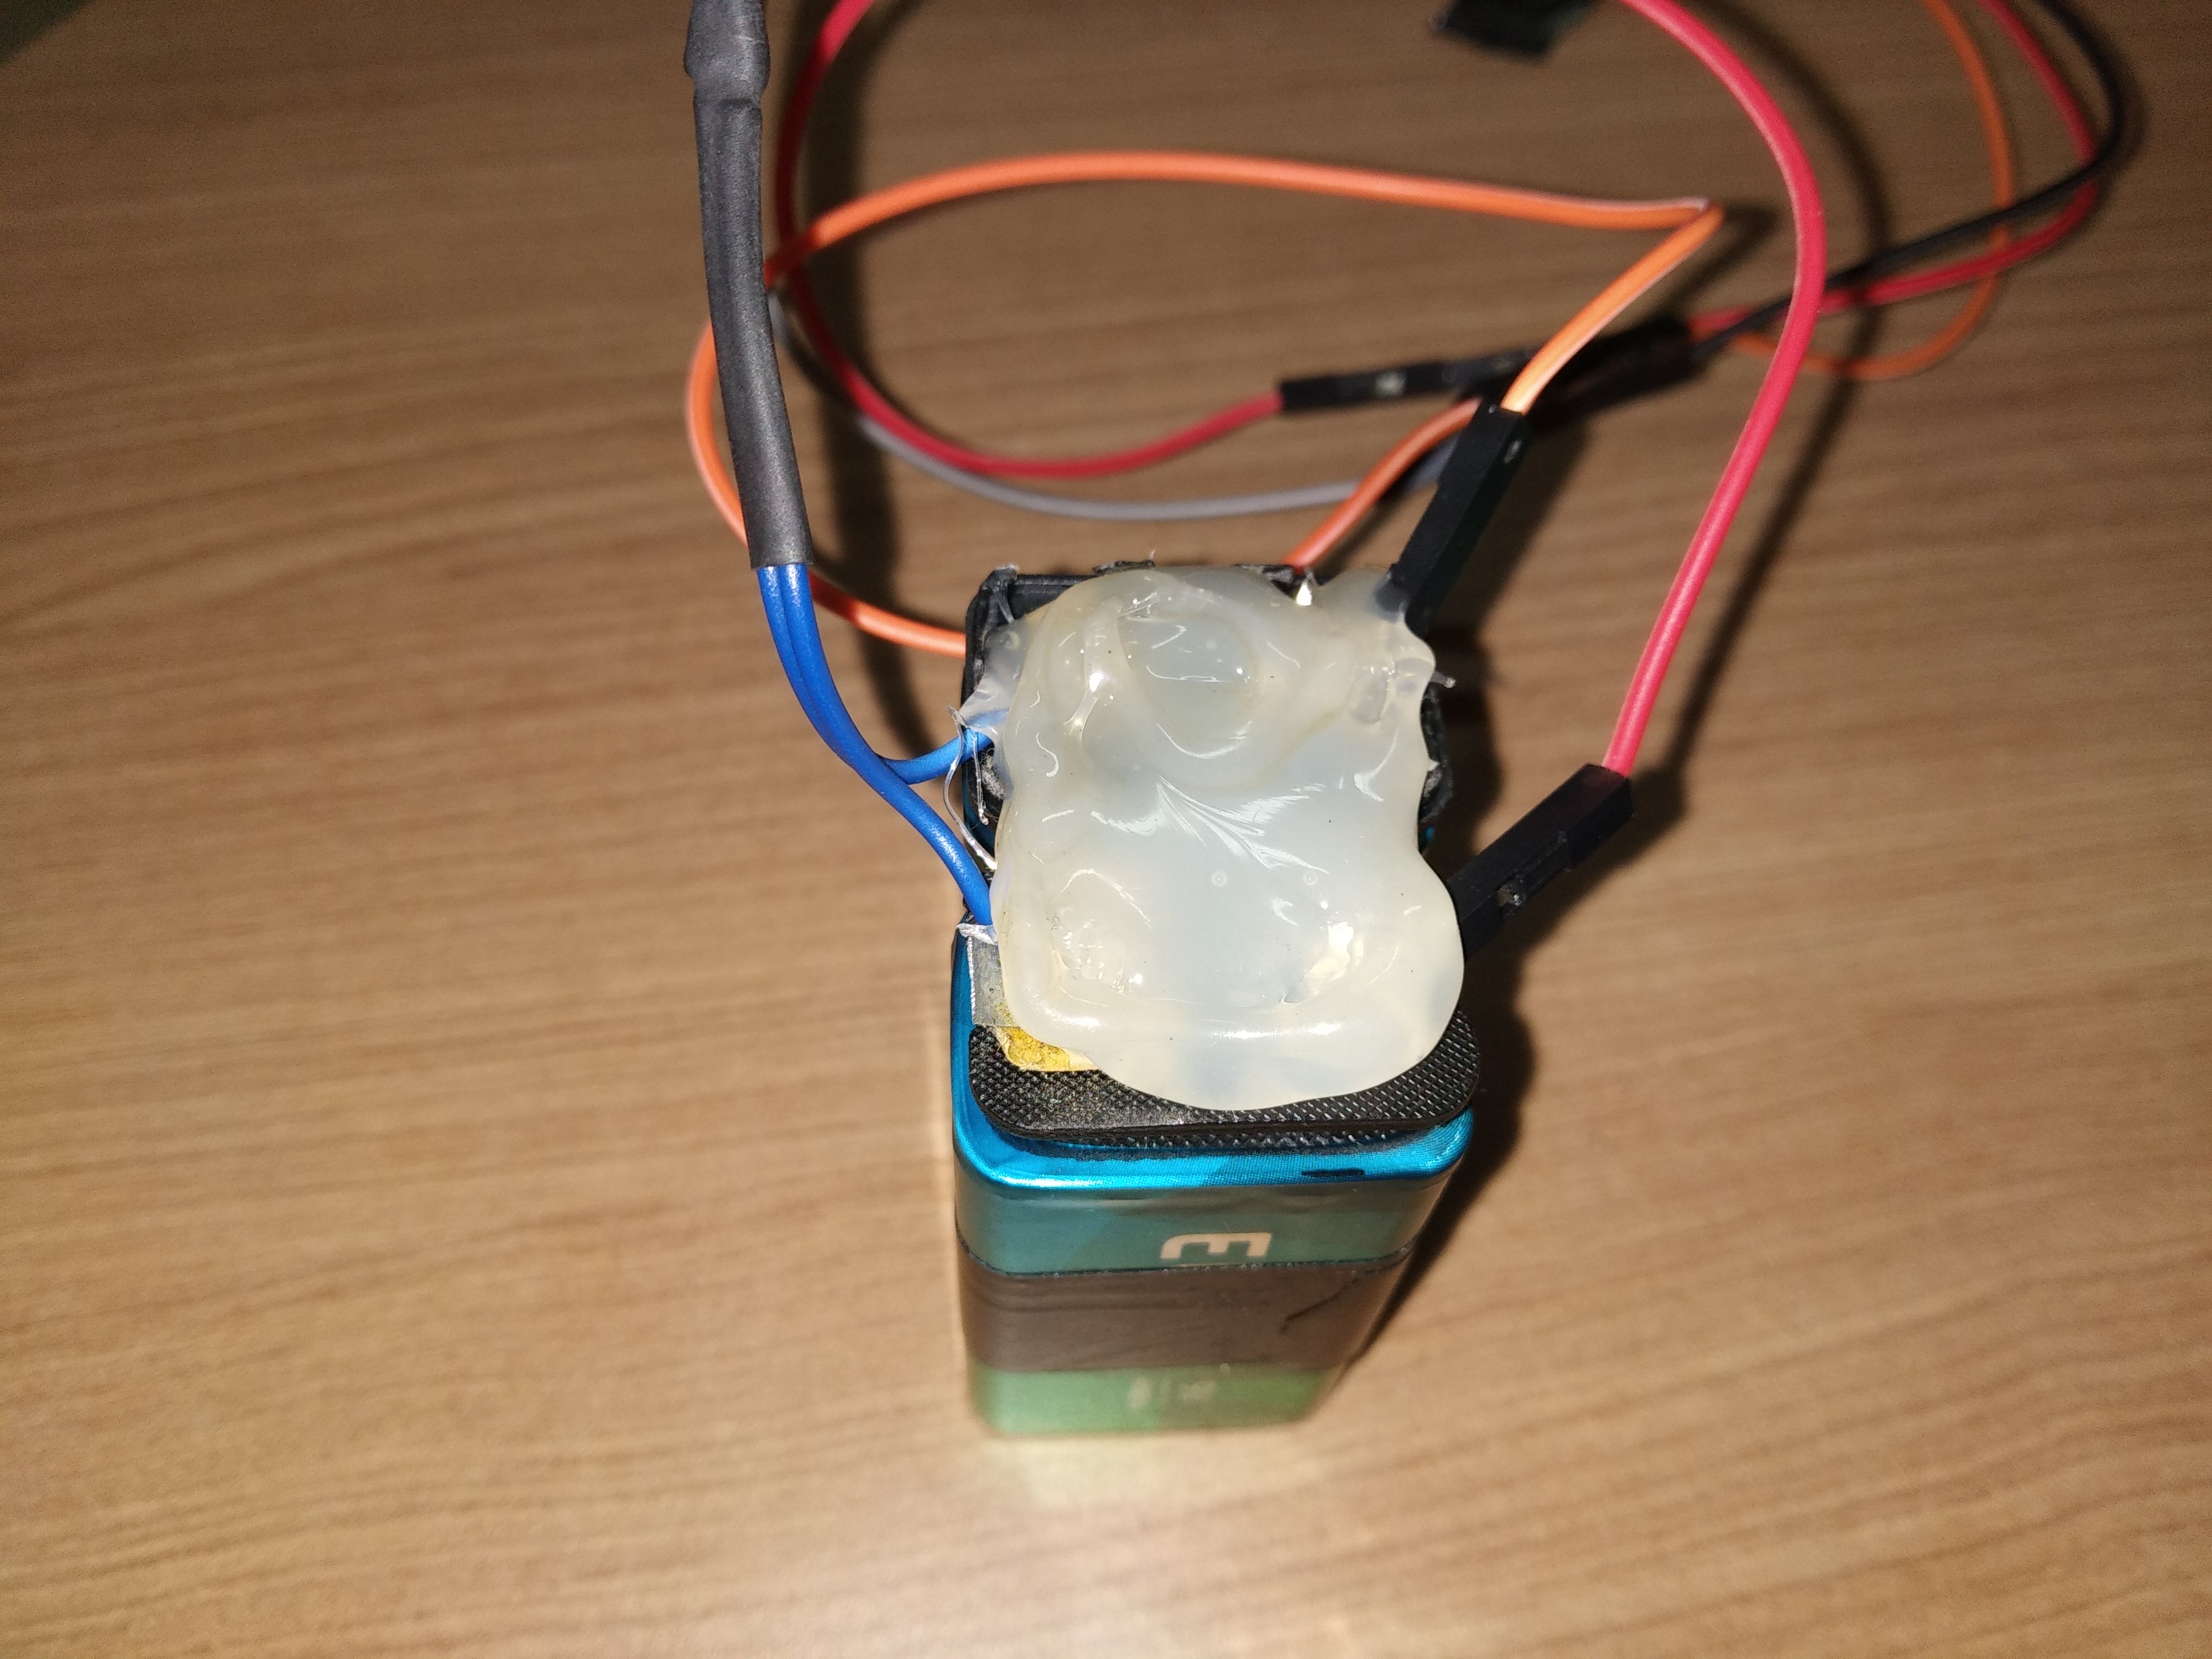
Battery connection pic2
Battery connection pic2
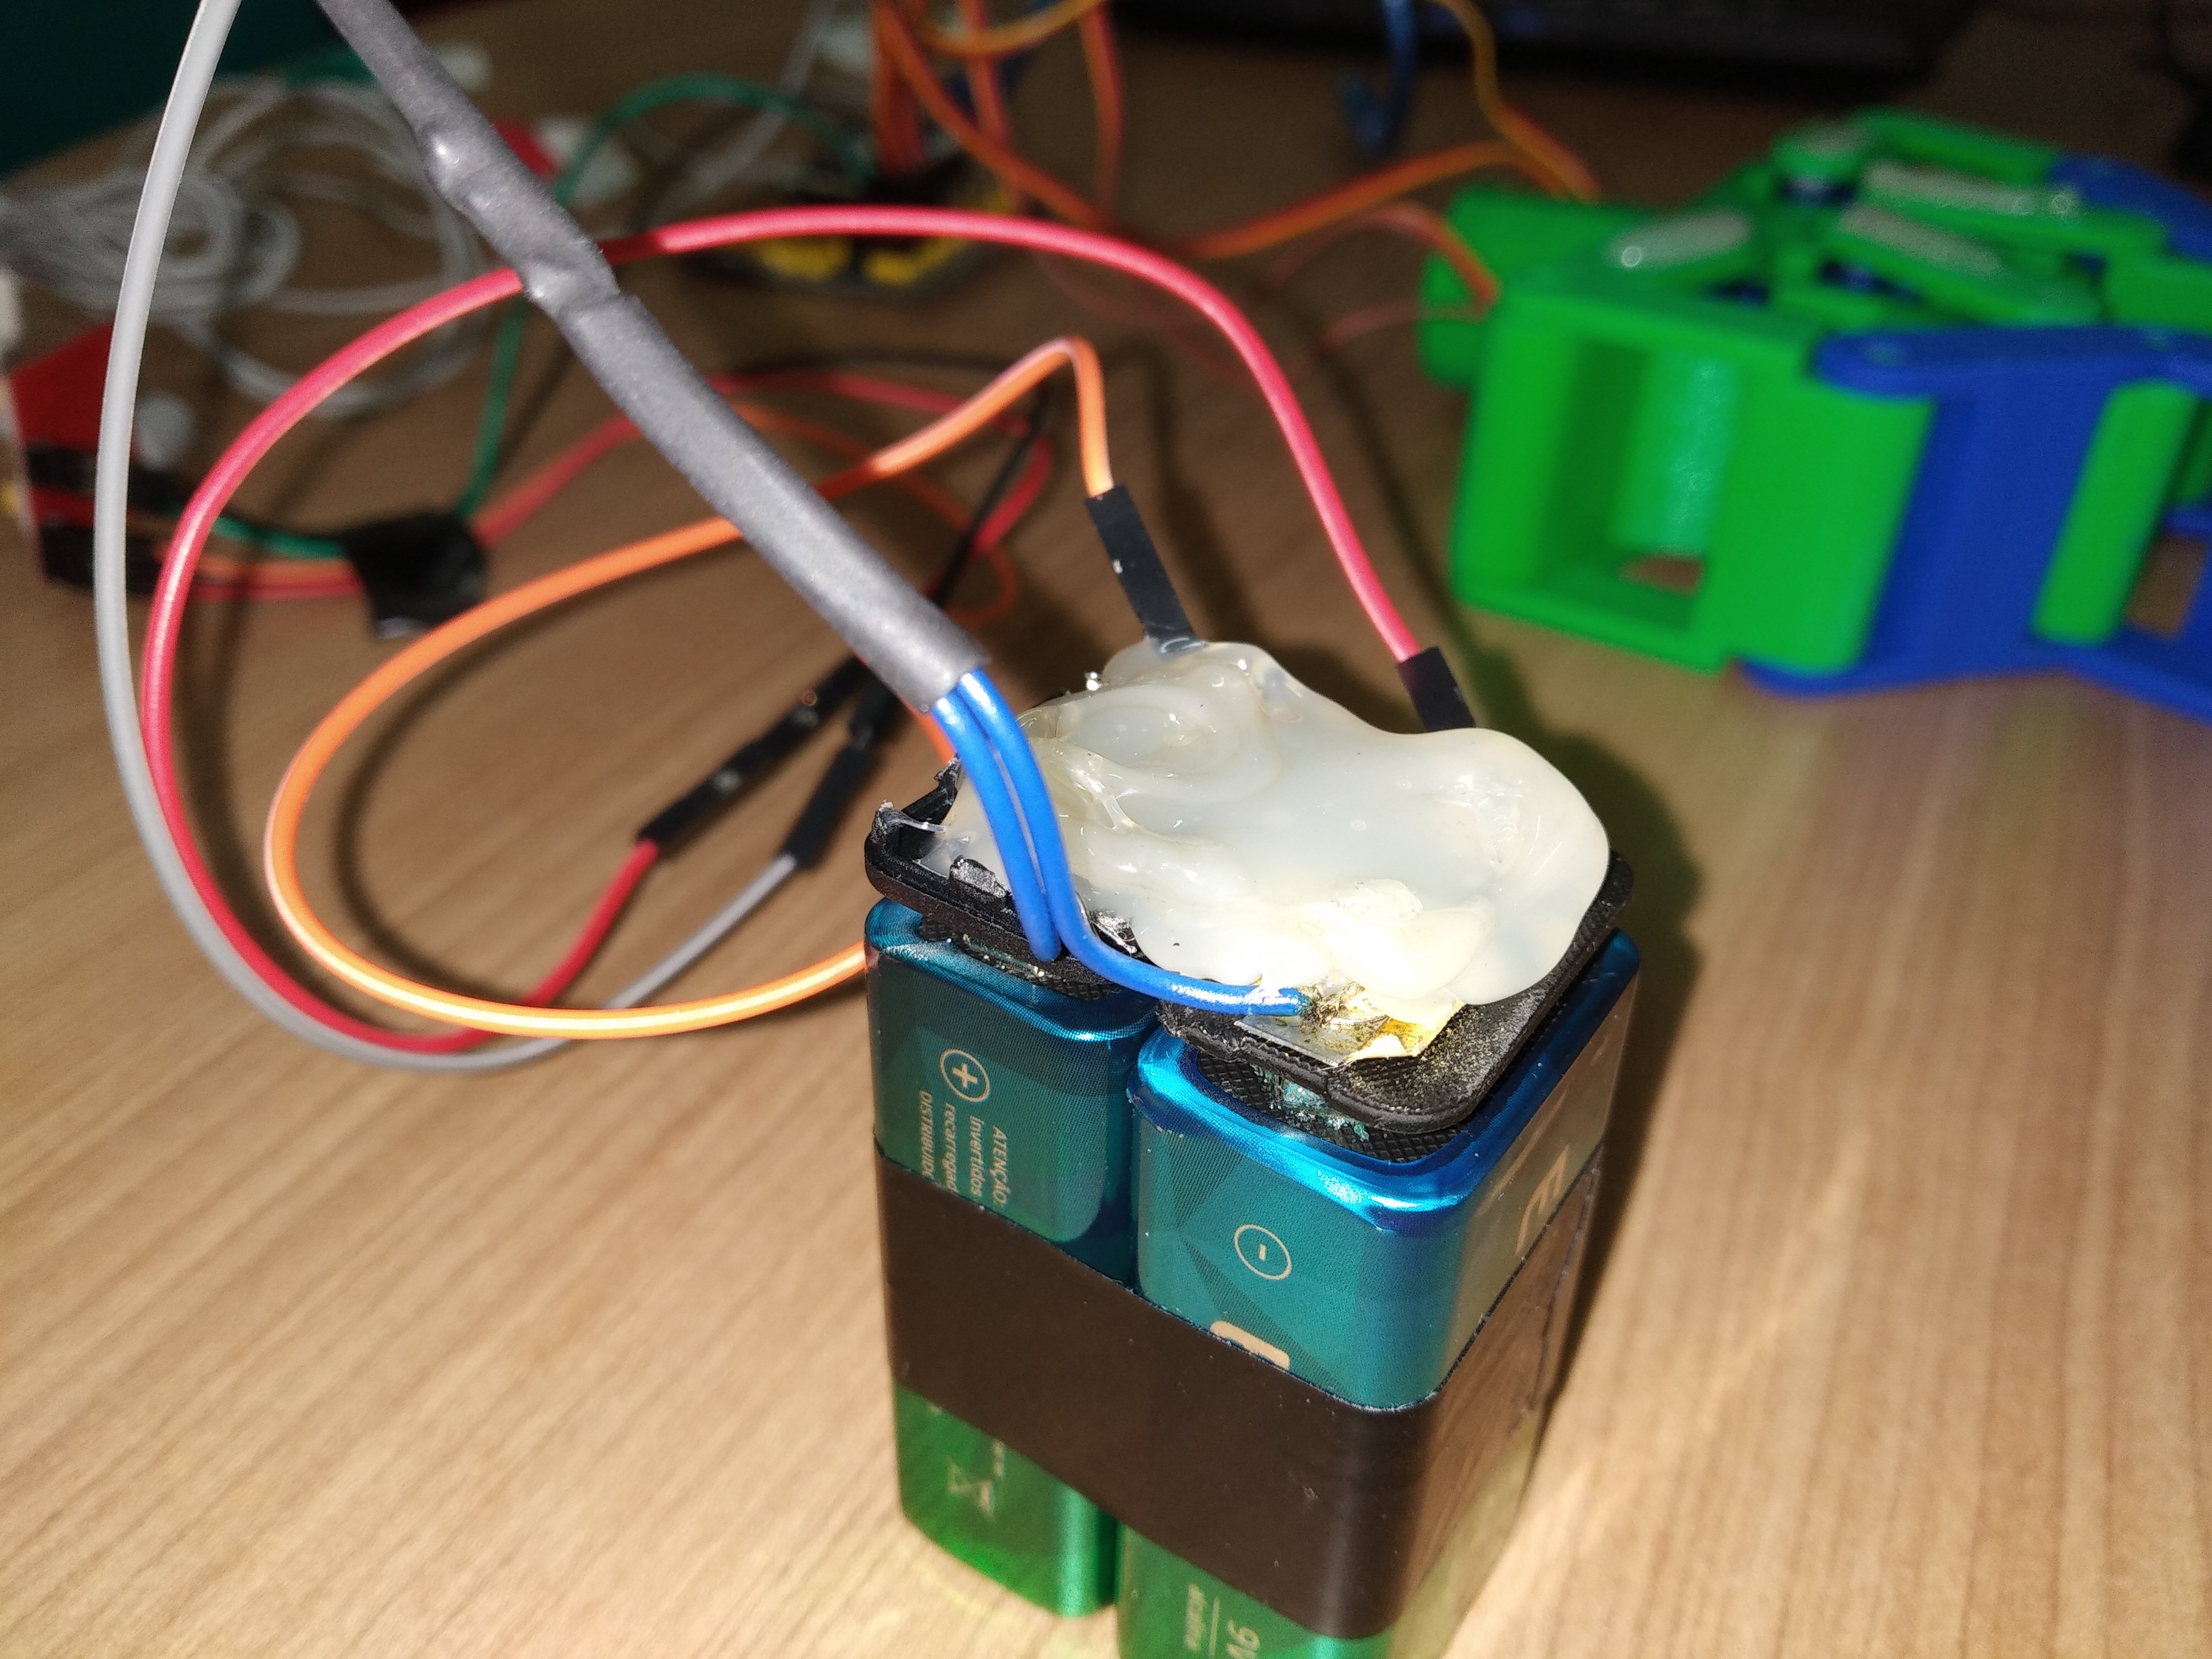
Battery connection pic1
Battery connection pic1
Myoelectric sensor connection
Myoelectric sensor connection
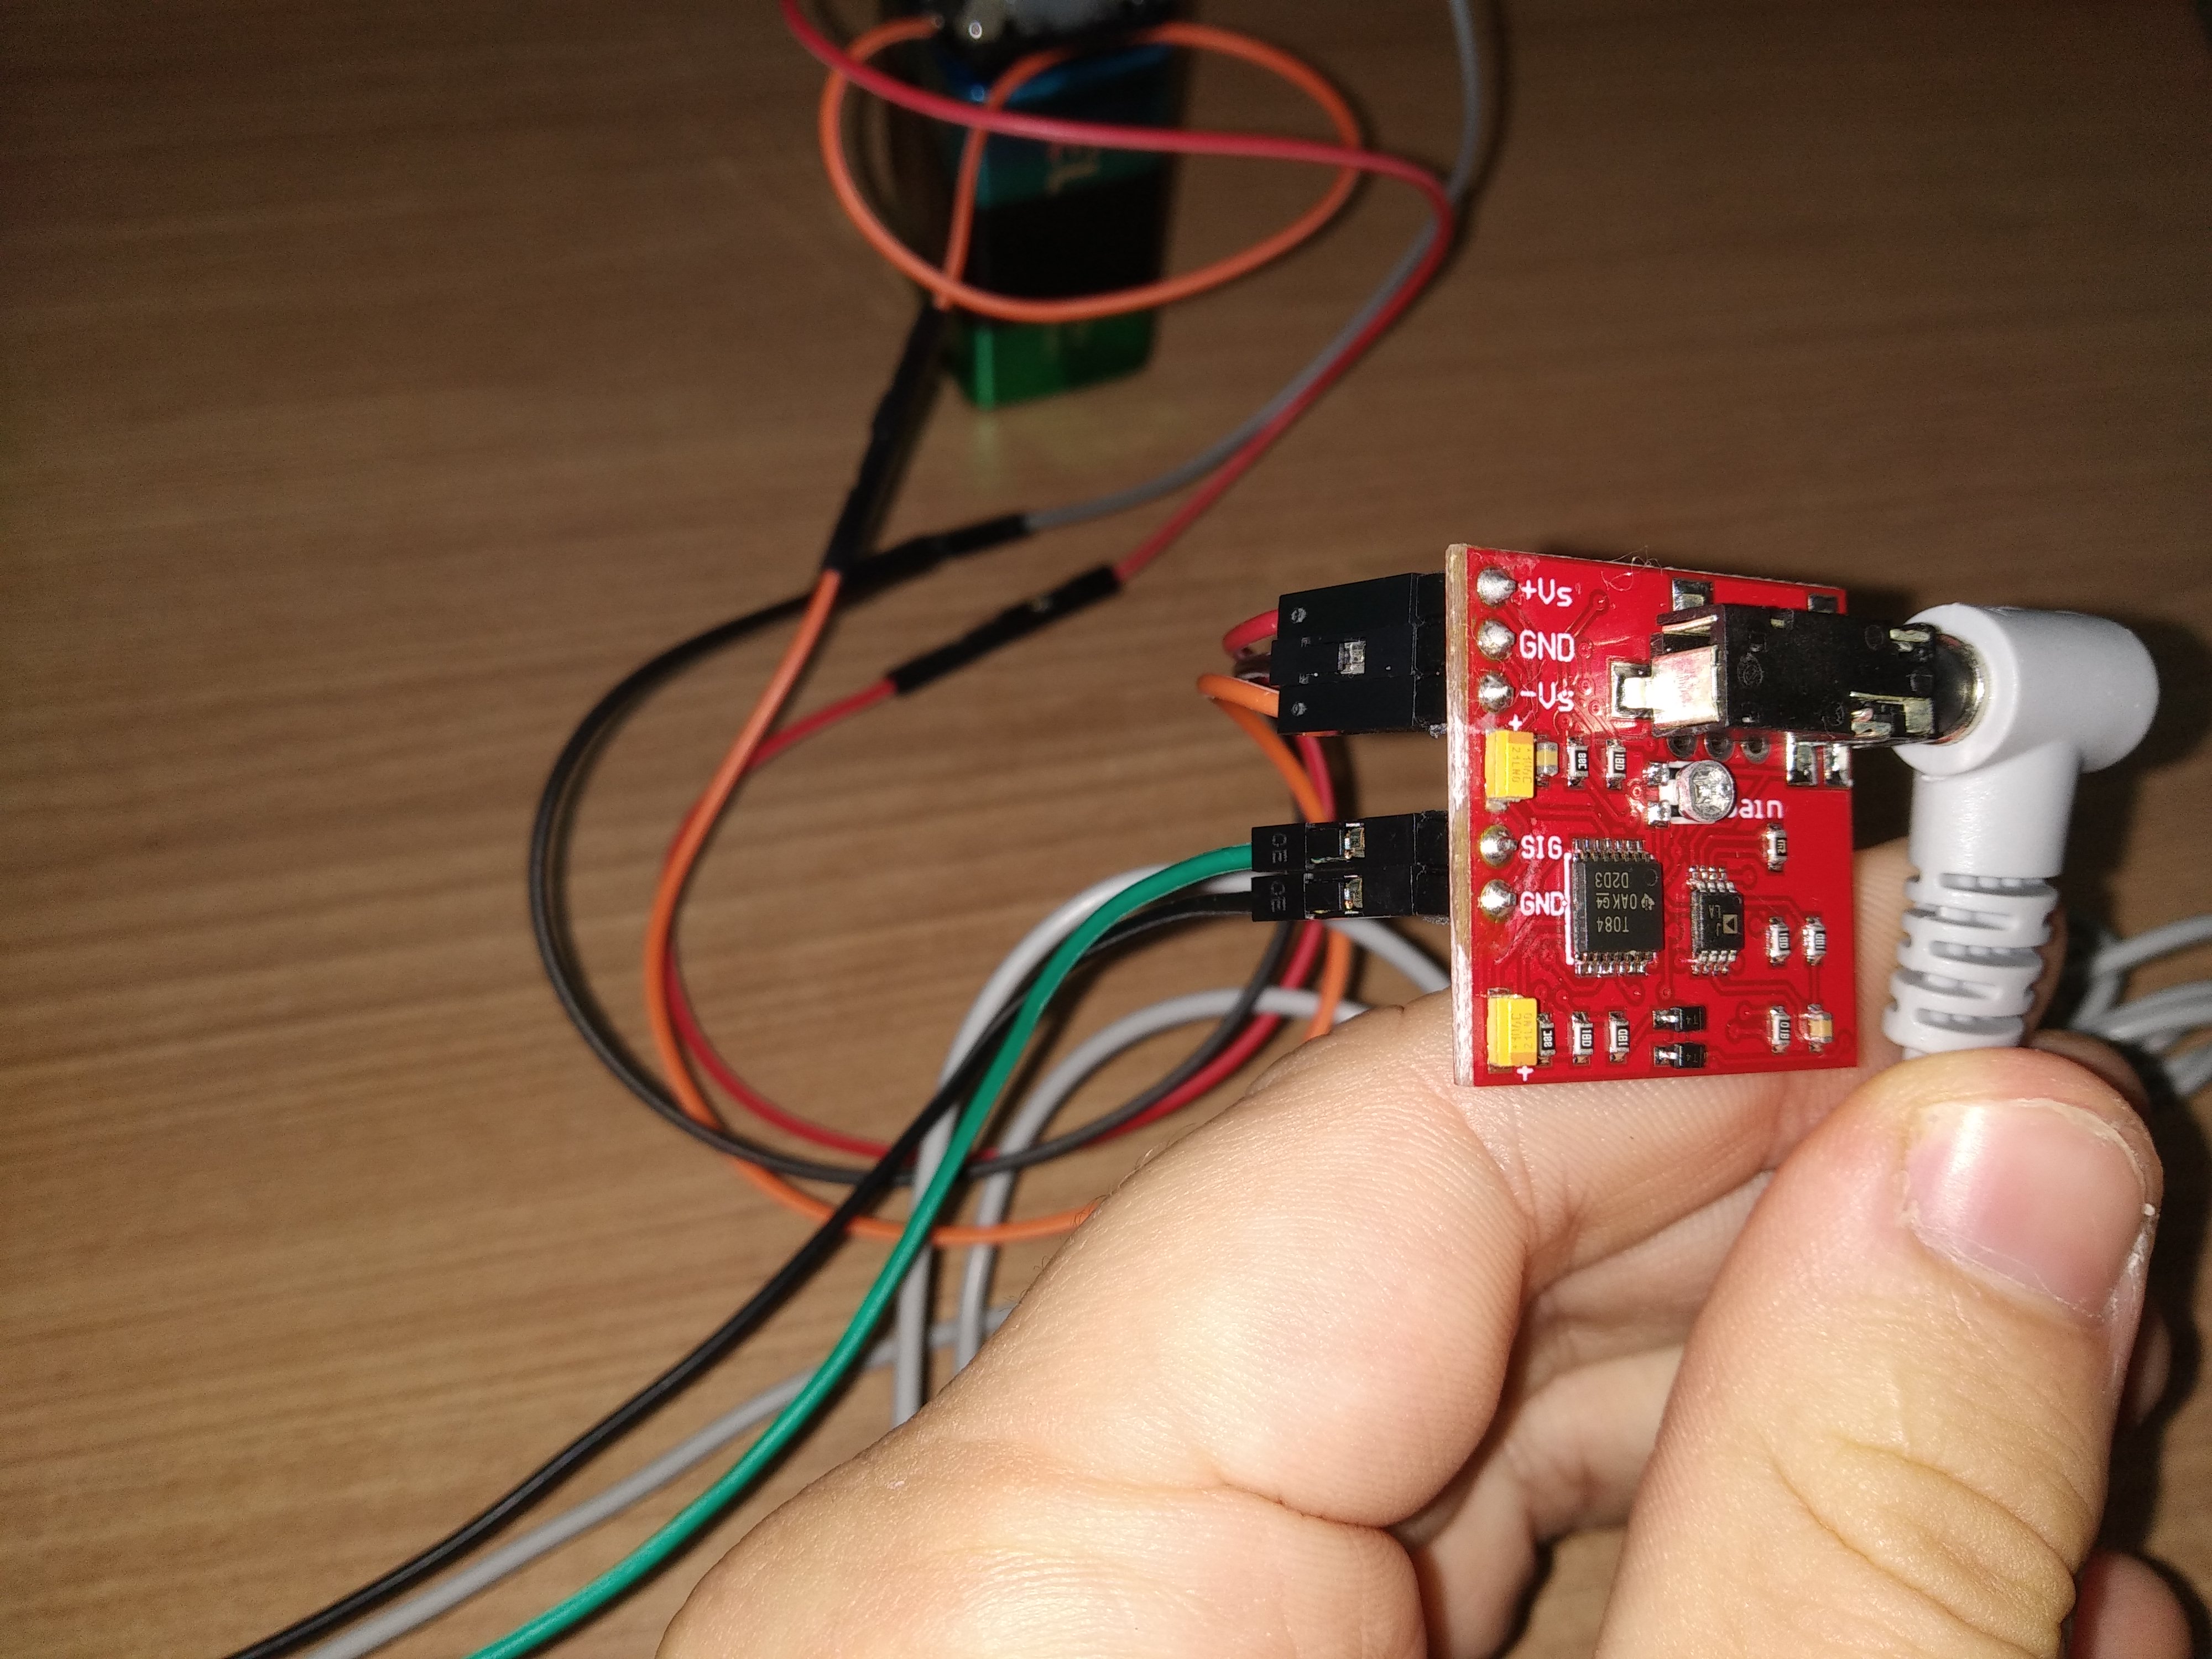
Myoelectric sensor connection
Myoelectric sensor connection
Myoeletric sensor schema.
Myoeletric sensor schema.
Battery connection pic2
Battery connection pic2
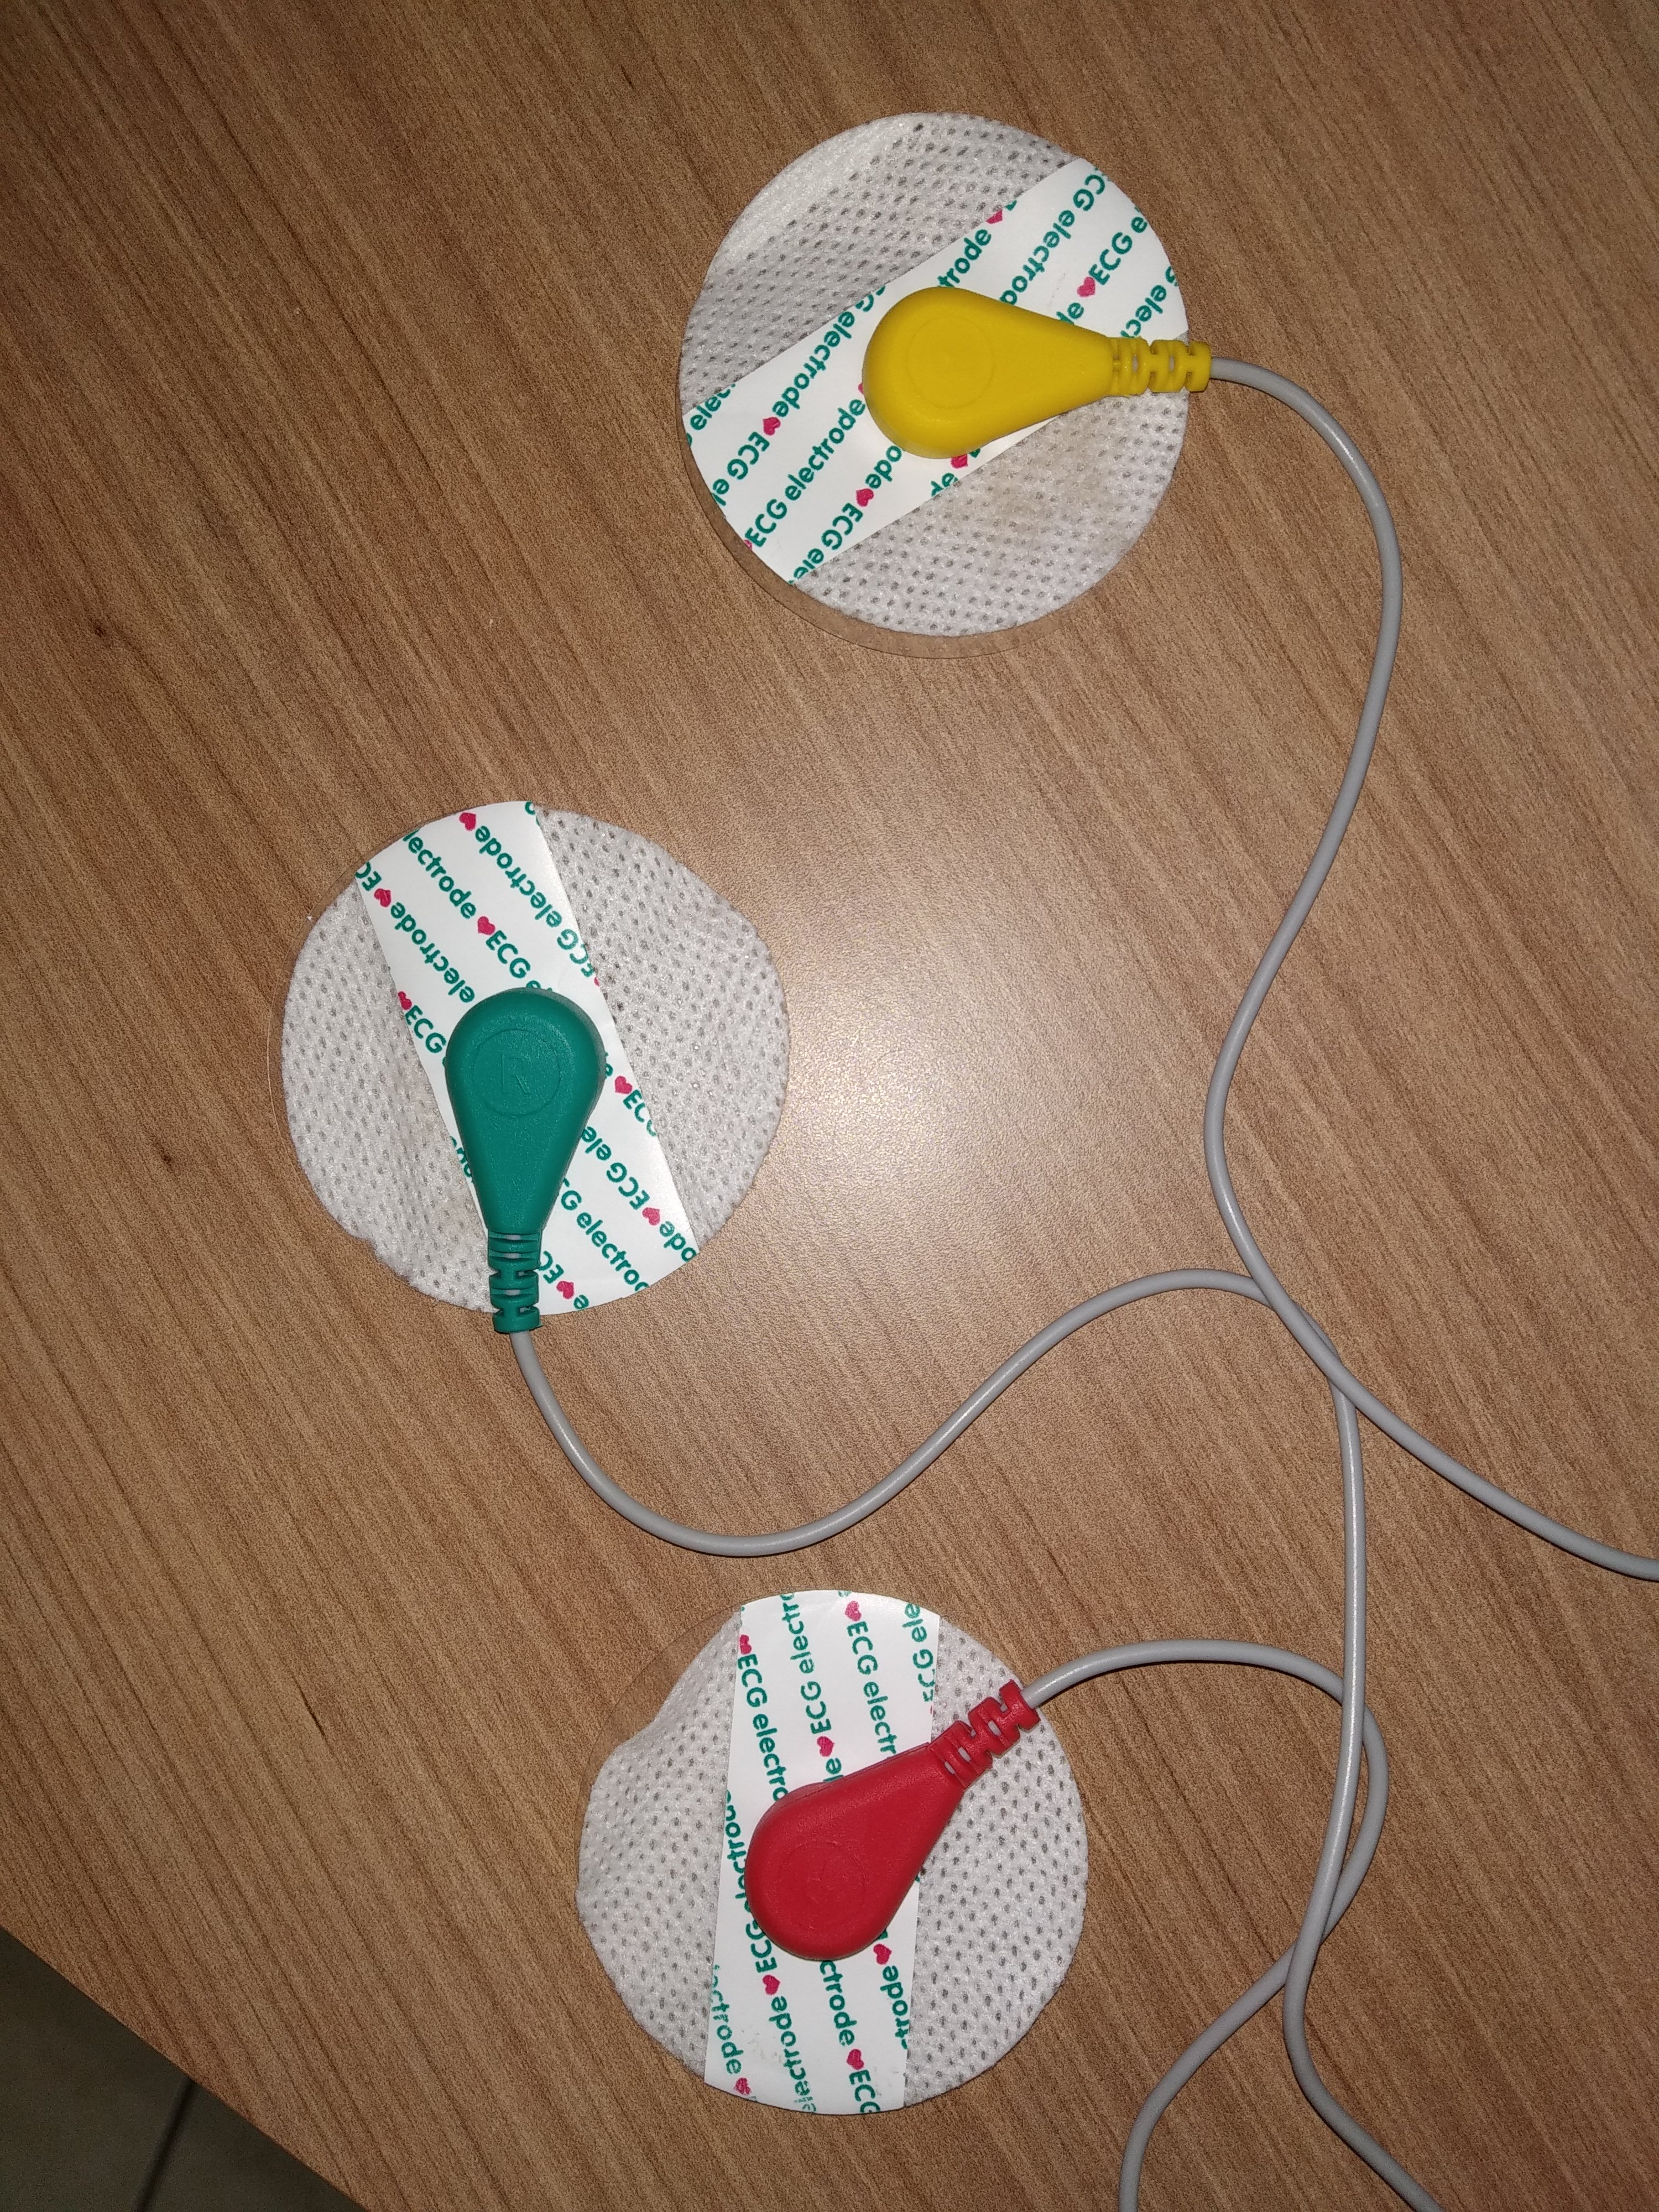
Order of muscle connectors
Place one electrode in the middle of the muscle body, connect this electrode to the RED snap connector. Place a second electrode at one end of the muscle body, connect this electrode to the GREEN snap connector. Place a third electrode on a bony or non-muscular part of your body near the targeted muscle, connect this electrode to the YELLOW snap connector.
Order of muscle connectors
Battery connection pic1
Battery connection pic1
Documentation
Hand prosthesis CAD.
Modeling of the hand parts in Solid Works.
Hand prosthesis CAD.
Hand prosthesis CAD.
Modeling of the hand parts in Solid Works.
Hand prosthesis CAD.
Comments
Only logged in users can leave comments