Creating a website with An Arduino Ethernet Shield
Using an Arduino Ethernet to create a website.
Devices & Components
1
Arduino Uno Rev3
1
Ethernet Shield
1
Ethernet Cable, 1.8 m
Software & Tools
1
Google Domains
Project description
Code
Main Code
cpp
First, Install the SPI and Ethernet libraries.
Downloadable files
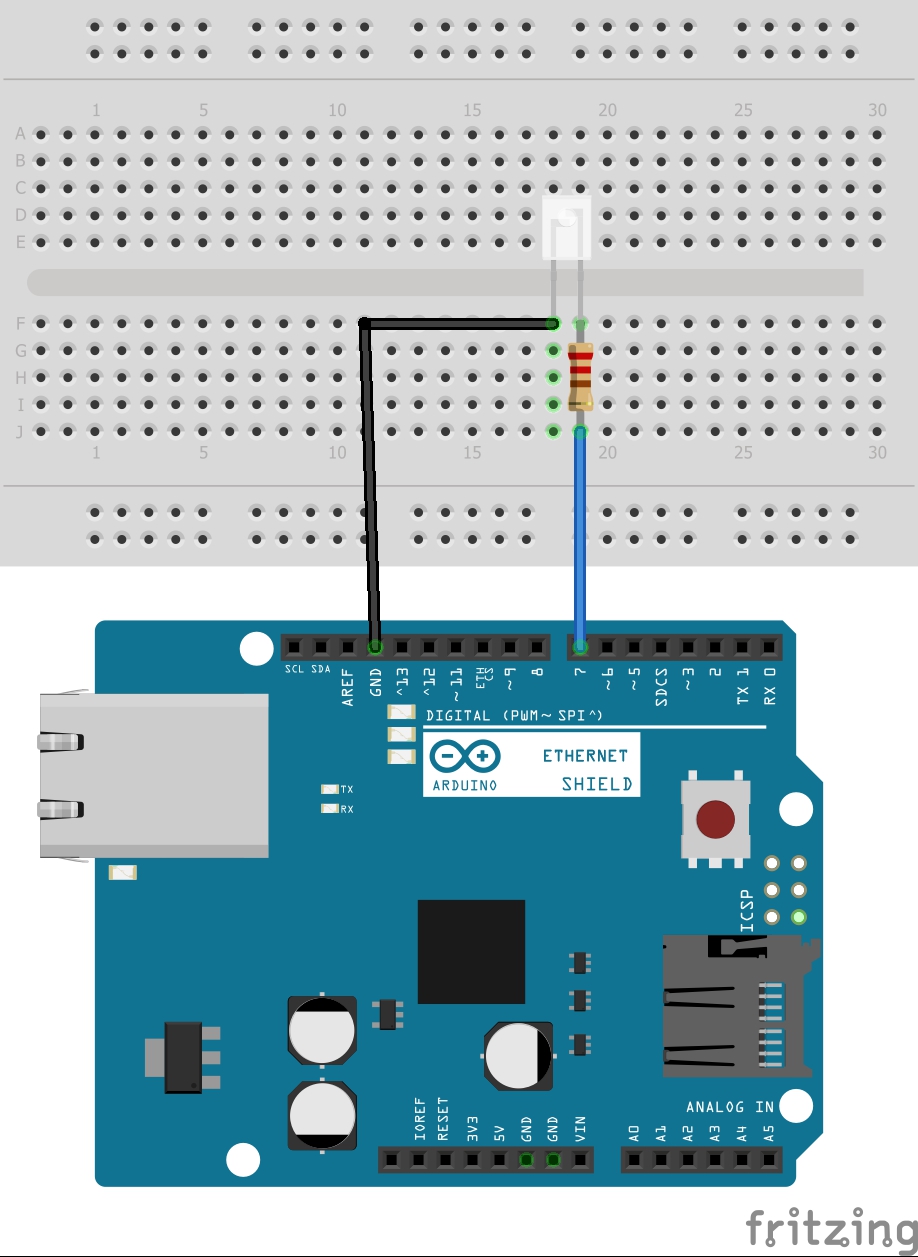
Schematic for step 1.
schematic.jpeg
Documentation
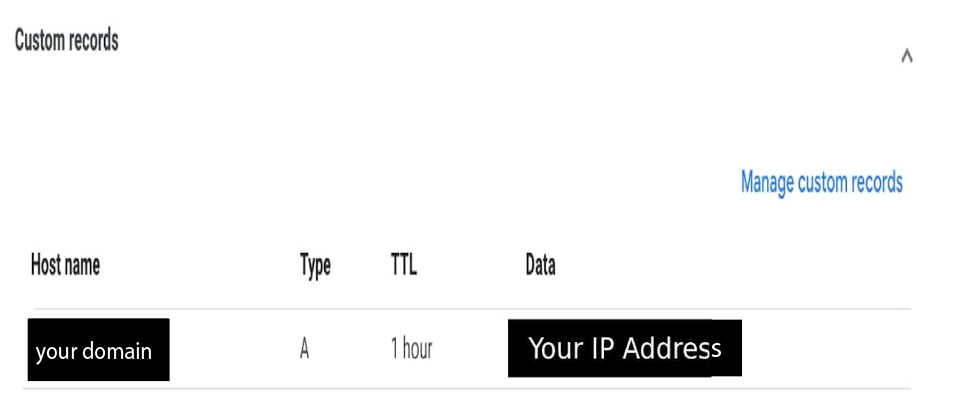
Image for step 5.
Screen Shot 2023-01-19 at 7.49.29 am.png

Image for step 6.
Screen Shot 2023-01-19 at 7.24.48 am.png
Comments
Only logged in users can leave comments