Mini Me - The Mini Humanoid Robot
Imagin being able to controll with your movements a mini version of yourself, well that's what this project is all about.
Devices & Components
Arduino Mega 2560 Rev3
MG90 Servo Motor
SG90 Micro-servo motor
Hardware & Tools
Laser cutter (generic)
Software & Tools
Arduino IDE
Project description
Code
Code for the exoskeleton
c_cpp
This is the code that goes into the nano in the exoskeleton. It uses the EasyTransfer Library, o make ure you have it istalled.
Testing code
c_cpp
This is the testing code i've beeing using for testing the strength of the servos
Code for the exoskeleton
c_cpp
This is the code that goes into the nano in the exoskeleton. It uses the EasyTransfer Library, o make ure you have it istalled.
Exoskeleton code for the robot
c_cpp
This code goe on to the Mega in the robot. It reads the values sent by the other arduino and map it to use them to move the servos. It ues the EasyTranfer library for sending and reciving data, so make sure you have it istalled.
Testing code
c_cpp
This is the testing code i've beeing using for testing the strength of the servos
Exoskeleton code for the robot
c_cpp
This code goe on to the Mega in the robot. It reads the values sent by the other arduino and map it to use them to move the servos. It ues the EasyTranfer library for sending and reciving data, so make sure you have it istalled.
Downloadable files
Latest Mini Me connection diagram
Latest Mini Me connection diagram
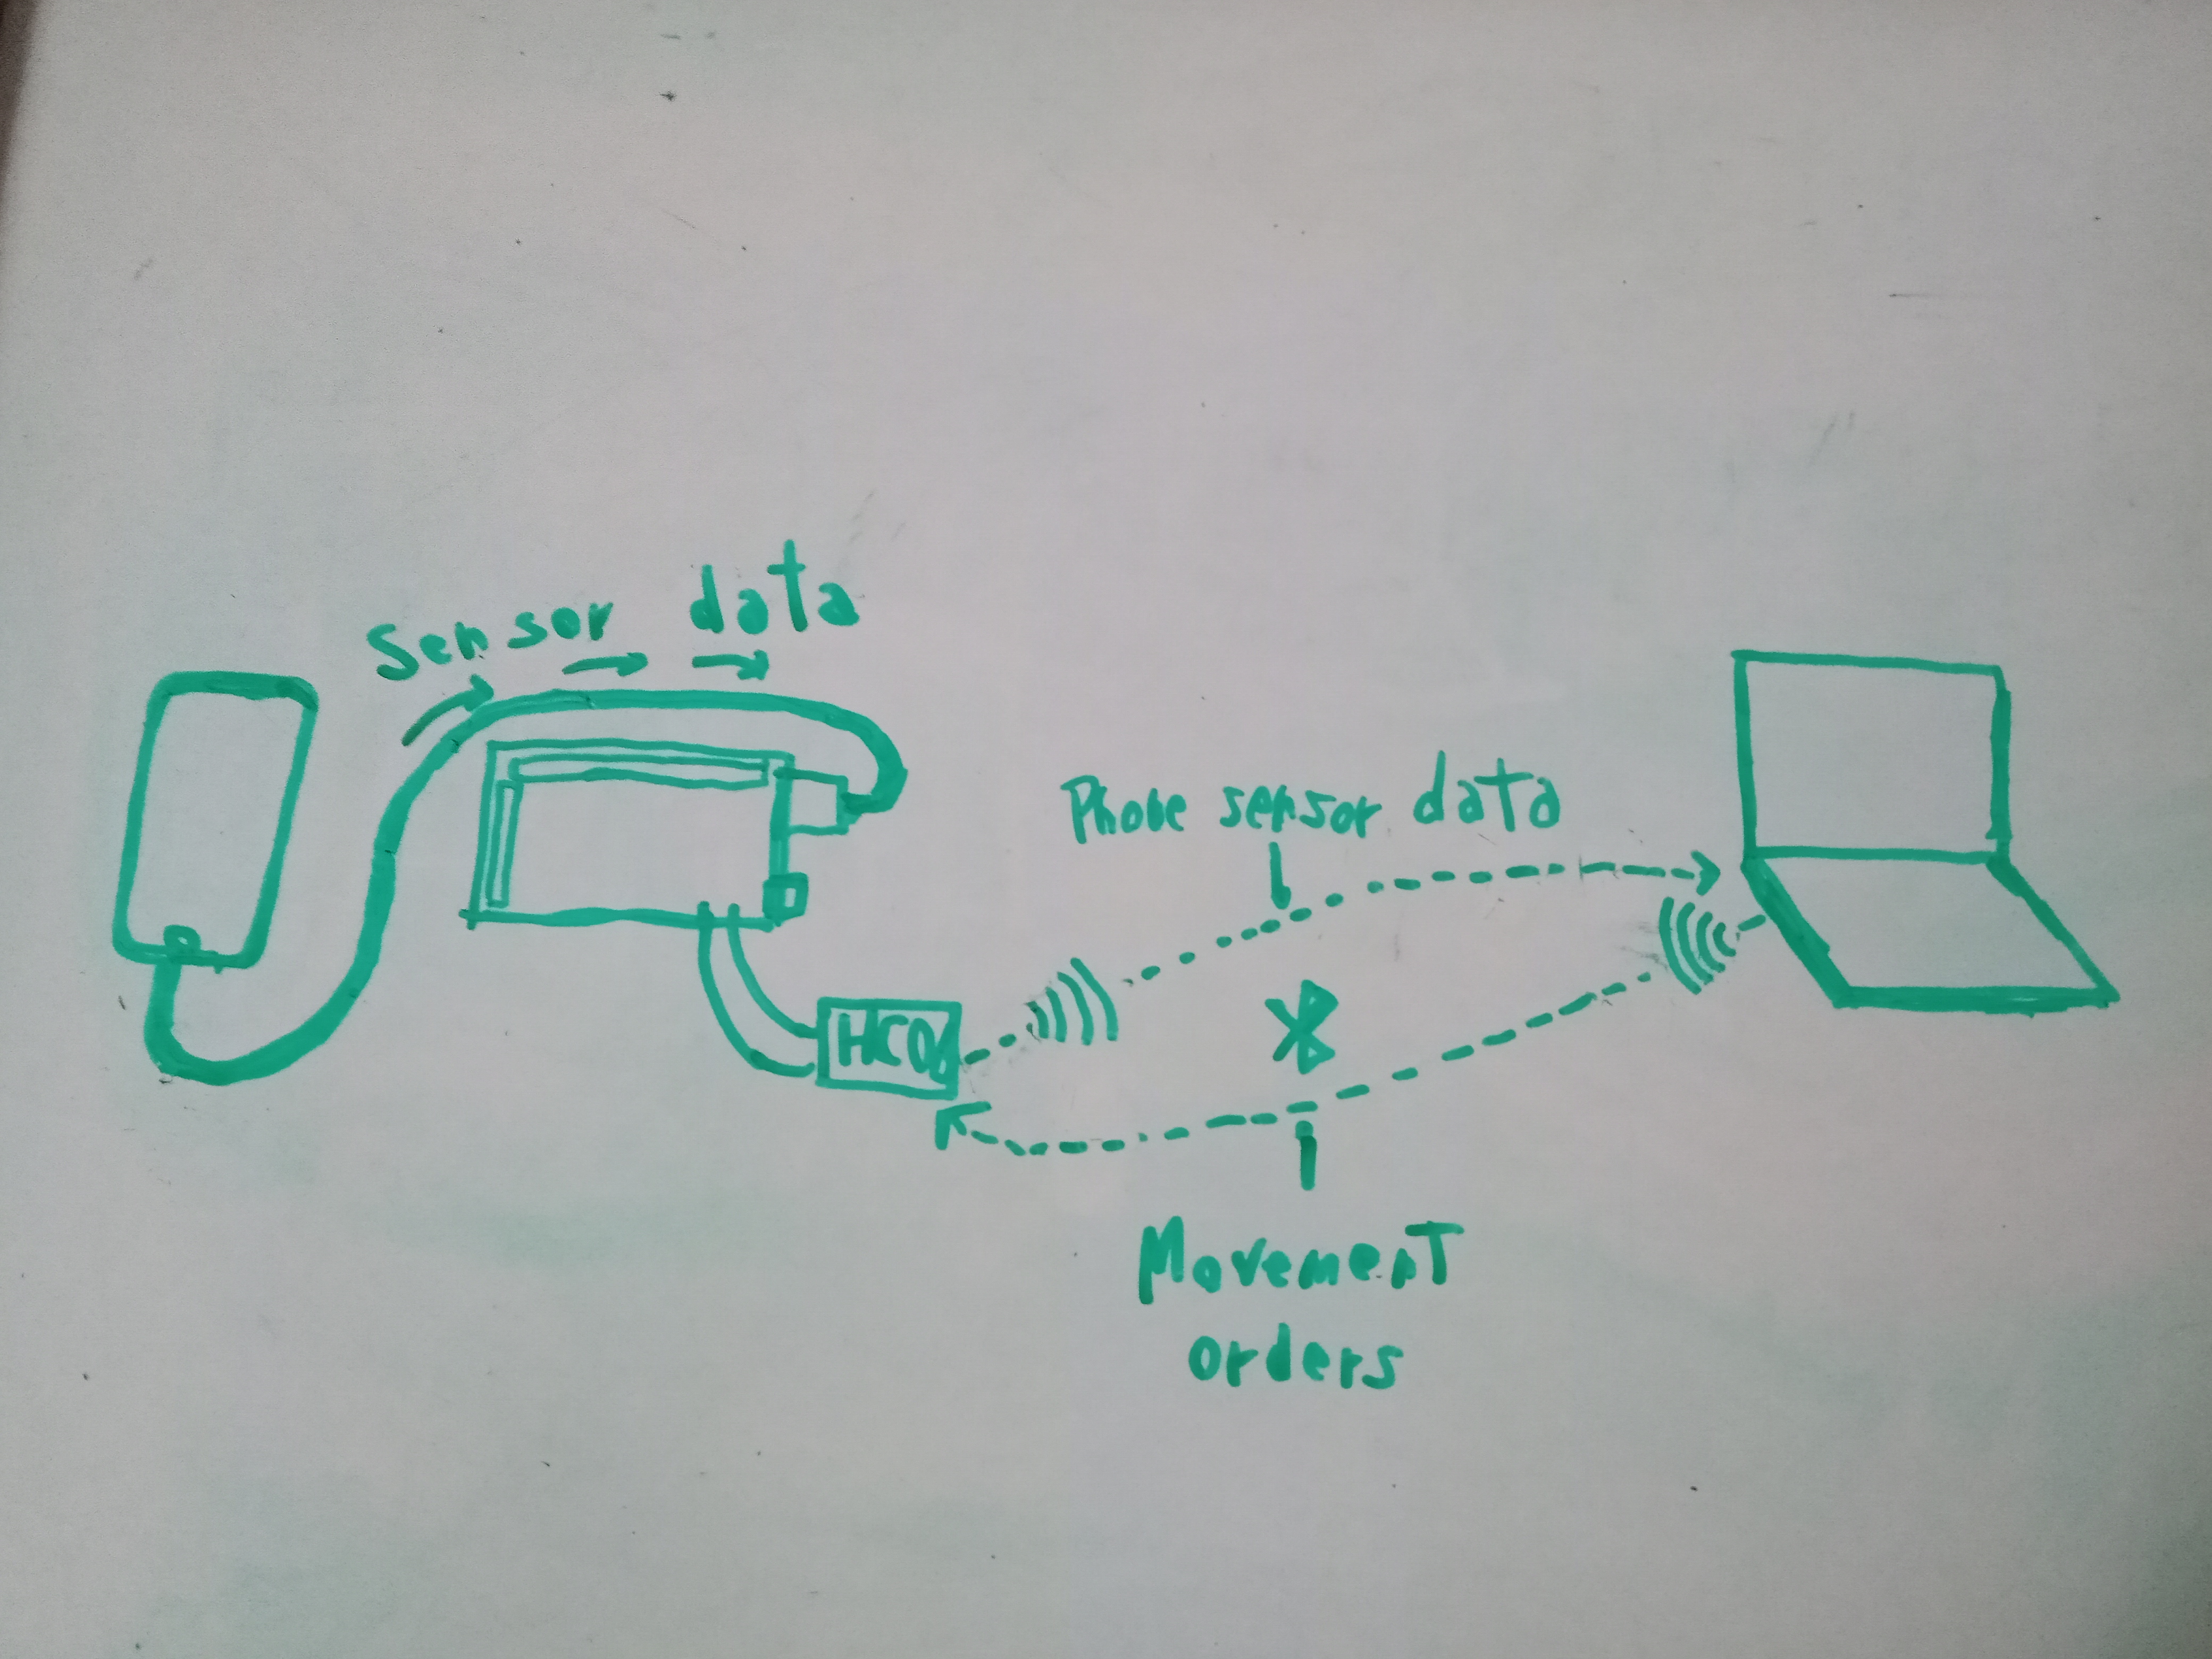
Latest Mini Me connection diagram
Latest Mini Me connection diagram
Documentation
Mini Me
The mini me design, all CAD Can be found in my Tinkercad: https://www.tinkercad.com/users/bn0FkXVLAYJ-coolrobotsandstuff
Mini Me
Comments
Only logged in users can leave comments